Okay so I have to tell you something embarrassing that happened to me before I figured all this out.
I spent almost a week designing my first KDP paperback cover. A whole week. I stayed up late, I tweaked fonts, I sourced stock photos, I sent it to three people for feedback. I was genuinely proud of it. When I finally uploaded it to Amazon and hit submit, the system threw an error about the cover dimensions being wrong. Not a small error. A hard reject.
Why? Because I had Googled “KDP cover template 6×9″ and grabbed the first PDF I found. I did not check where it came from. I did not verify the spine width. I just started designing on it. Turns out my page count had changed three times during editing and I had never gone back to recalculate anything. The spine on my cover was almost 4mm too narrow. Four millimeters. That was all it took to blow up an entire week of work.
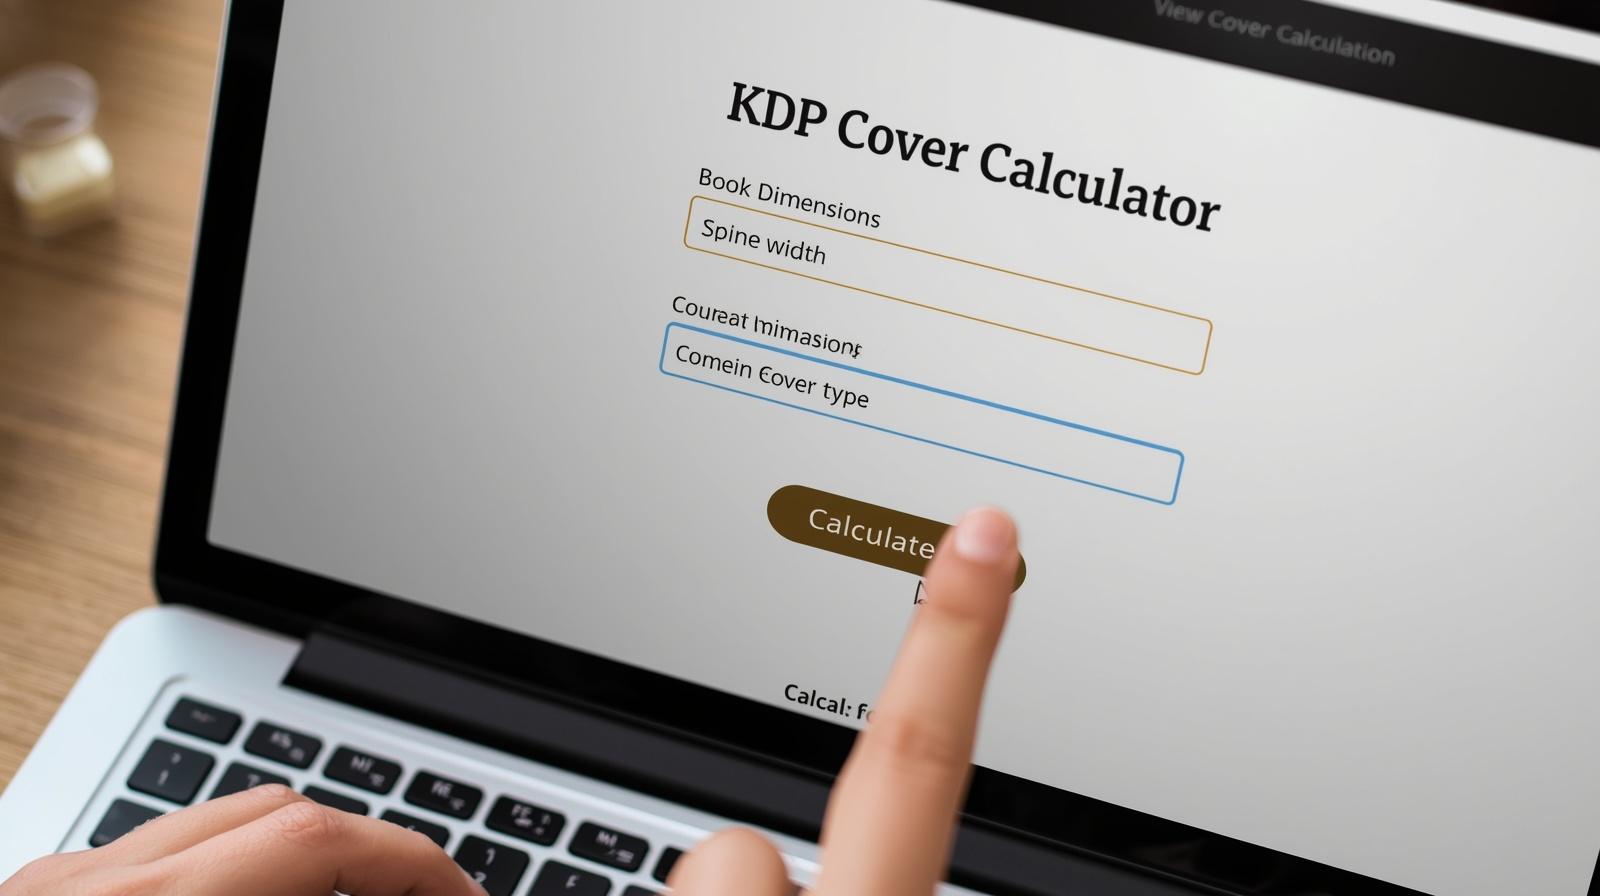
That is when someone told me the KDP Cover Calculator existed. It is a free tool. It is right there on Amazon. It takes two minutes to use. And I had just wasted a week because nobody had mentioned it to me before.
So that is why I am writing this. Not because it is a complicated tool. It is actually incredibly simple. But if you do not know it exists, or if you know it exists but are not totally sure how to use it correctly, you can end up in the same situation I was in. And I do not want that for you.
Why Your Cover Dimensions Cannot Just Be “Close Enough”
Before we get into the calculator itself, I want to explain why this matters so much, because if you understand the why, you will never be tempted to skip this step again.
A physical paperback cover is not just the image you see on the front. When your book goes to print, the cover is one single flat sheet that wraps around the entire book. That flat sheet has three sections: the back cover on the left side, the spine in the middle, and the front cover on the right side. All of it connects. All of it has to line up perfectly when it wraps around the pages and gets glued down.
Now here is what most people do not realize. The spine is not a standard width. It changes based on two things: how many pages your book has and what type of paper the interior is printed on. Cream paper is physically thicker per page than white paper. So a 300-page book on cream paper has a wider spine than a 300-page book on white paper. And if your page count changes, even by ten or fifteen pages, the spine width changes too.
This is why a template you found on Pinterest or downloaded from some random blog might get you close but will almost never be exactly right for your book. And “close” is not good enough when it comes to print covers. A spine that is even a few millimeters too wide or too narrow means your cover art will not line up, your spine text might sit crooked or run off the edge, and in some cases Amazon will reject the file entirely. The KDP Cover Calculator solves all of this instantly.
Where to Actually Find the KDP Cover Calculator
Amazon does not exactly put this tool on a billboard, which is part of why so many people do not know it exists. Here is where to find it.
If you already have an active book project set up in KDP, the most direct path is through your manuscript setup:
- Log into kdp.amazon.com with your Amazon account
- Open an existing paperback draft or start a new paperback title
- Click through to the Content page of the book setup
- Scroll down to the Cover section
- Look for the link that references the Cover Calculator or the option to download a cover template
If you are still in the planning phase and have not started a book project yet, you can also find the calculator through the KDP help center and resources pages. Amazon has made it accessible even without an active project, which is handy when you want to figure out your cover dimensions during the planning phase before you even start formatting your interior.
Bookmark it now. Seriously. You will come back to this tool every time you publish something new, and having it bookmarked means you will not waste five minutes hunting for it each time.
Gather These Four Things Before You Touch the Calculator
The calculator is quick to use, but only if you have the right information ready before you start. If you guess at any of these four things, your dimensions will be wrong. This is not me being dramatic. It is just how the math works.
1. Your Binding Type: Paperback or Hardcover
KDP offers both paperback and hardcover publishing, but the cover calculator treats them differently. Hardcover books have case wrap and board thickness built into the calculation, so the numbers come out different. Most independent authors, especially those publishing for the first time, go with paperback because the production cost is lower and it is easier to price the book competitively. If you are doing hardcover, great, just make sure you select the right option and do not mix up the two.
2. Your Paper Color: White or Cream
This one catches people off guard because it seems like a minor aesthetic choice. It is actually a structural one. KDP offers two paper colors: white (sometimes labeled bright white or standard) and cream (sometimes labeled natural or off-white). Cream paper is physically thicker per page than white paper.
On a short book, say 120 pages, the difference in spine width between cream and white is small enough that you might not notice it. But on a 350 or 400-page book, that tiny per-page thickness difference adds up to a spine that is visibly wider or narrower depending on which paper you chose. If you set your interior file to cream paper but enter white paper in the cover calculator, your spine measurement will be wrong. It really is that straightforward, and it really does trip people up constantly.
3. Your Final Page Count (Not an Estimate)
I want to put extra emphasis on the word final here. Not your rough draft page count. Not a guess based on how many pages you think the book will end up being. The actual, final, formatted page count from your completed interior PDF.
Your interior PDF page count includes everything. The title page, the copyright page, the dedication, the table of contents, any blank pages used for chapter starts, every chapter page, the acknowledgements, the author bio, the index if you have one. All of it. Open your formatted PDF, look at the last page number, and use that number. Being even five or ten pages off gives you a slightly wrong spine width, which sounds trivial until your proof copy arrives and the author name on the spine is half-hidden under the fold.
4. Your Trim Size
The trim size is the physical finished size of your printed book. When you formatted your interior, you set it up on a specific page size. That page size is your trim size. Common KDP trim sizes include 5 x 8 inches (very popular for fiction novels), 5.5 x 8.5 inches (frequently used for nonfiction), and 6 x 9 inches (common for business books, guides, and textbooks). Whatever you used when formatting your interior is what you enter into the cover calculator. They are locked together. If your interior is formatted at 5.5 x 8.5 but you enter 6 x 9 into the cover calculator, your cover will not fit your book.
Step by Step: Using the Calculator Without Overthinking It
Once you have your four pieces of information ready, actually using the calculator takes under two minutes. Here is exactly what happens on the screen.
Step 1: Choose Paperback or Hardcover
The calculator opens with a dropdown asking for your binding type. Select Paperback or Hardcover depending on what you are making. If you select the wrong one here, everything that follows will be calculated on wrong assumptions, so take two seconds to confirm this before moving on.
Step 2: Select Interior Type and Paper Color
Next the calculator asks whether your interior is Black and White or Color. Black and White covers text-only books, most fiction, memoirs, essays, business books, anything printed in black ink on white or cream pages. Color is for books with full-color photographs, illustrations, or design elements that need to reproduce in color. After that you will select White or Cream for your paper. Match this to what you chose in your interior formatting settings.
Step 3: Type In Your Page Count
Enter the final page count from your formatted interior PDF. Just type the number. Do not add your cover to this count since the cover is a separate file. If your interior PDF ends on page 318, type 318.
Step 4: Enter Your Trim Size
Select your trim size from the dropdown or enter custom dimensions if you are using a less common size. Most people will find their trim size in the standard list. Confirm it matches your interior before clicking through.
Step 5: Hit Calculate and Download Your Template
Click the button to generate your dimensions. The calculator immediately displays your total cover width, total cover height, exact spine width, and bleed measurements. Then you can download a template file, usually a PDF, that has all of those dimensions already laid out with guide lines marking the spine position, bleed edges, and safe zones. Download that file. It becomes your design canvas.
Step 5: Calculate and Get Your Template
Hit the calculate button. The tool generates your full cover dimensions right away. You will see the total canvas width, total canvas height, exact spine width, and the bleed measurements. Then download the template file. It comes as a PDF with all the guide lines already drawn: spine boundaries, bleed edges, and safe zones. That downloaded file is your cover canvas. You bring it into your design software and work on top of it.
What Do All Those Numbers Actually Mean?
When the calculator gives you your dimensions, you will see several measurements listed. Here is what each one means and why it exists.
- Total Cover Width: The full width of your flat cover file from left edge to right edge. This covers the back cover, the spine, the front cover, plus the bleed strips on both sides. This becomes the canvas width in your design software.
- Total Cover Height: The full height of your cover file top to bottom, including bleed at the top and bottom. This is your canvas height.
- Spine Width: The width of the middle strip of your cover, the part that shows when a book is sitting on a shelf. This is the number that changes with every book and the whole reason you need to run this calculator each time. It is calculated entirely from your page count and paper type.
- Bleed (0.125 inches on every side): Bleed is extra space on the outer edges of your canvas that goes beyond the final cut line. Printing machines are not perfectly precise. When the printer trims your cover, the cut can drift by a tiny amount in any direction. The bleed makes sure your background color or image still covers the edge even if the cut shifts slightly. Without bleed you can end up with white slivers on the edges of your printed book. Your backgrounds and non-text design elements need to extend all the way into the bleed area.
- Safe Zone: The inner area of your cover where all your important content needs to sit. Your title, author name, back cover text, spine text, everything the reader needs to read must stay inside the safe zone. Anything too close to the edges risks being trimmed off. On the spine especially you want to stay well within the safe zone because you already have limited space to work with.
The Mistakes That Still Catch People Out (Even Experienced Authors)
Knowing about the calculator does not automatically mean you will use it correctly. These are the errors that come up again and again, even among people who have published multiple books.
- Starting your cover design before your interior is finalized: This is what happened to me with my first book. I designed the cover before I finished editing. Then I added a new chapter. Then I cut a section. By the time my interior was actually done, my page count was off by 22 pages from what I had used in the cover design. The spine no longer fit. I had to redo it. Please just finish and format your interior completely before you touch the cover. I know it is tempting to work on the cover while you are still editing because it is more fun, but lock in that page count first.
- Entering the wrong paper type: Your interior file says cream paper. You open the calculator and accidentally select white. Your spine calculation comes out narrower than it should be. The cover wraps around the book and does not quite cover the spine properly. You see a small sliver of white or the spine text slides off to one side. Check your interior settings and match them exactly before entering anything into the calculator.
- Forgetting to include bleed in your canvas size: This one is super easy to do when you are new to print design. You set up your canvas at your trim size because those are the dimensions that feel right. But your canvas needs to be larger than the trim size by 0.125 inches on all four sides. That extra space is the bleed. If you skip it, the printed book can have white edges where the paper was cut and KDP might reject the file before it even reaches print.
- Forcing text onto a spine that is too narrow: If your spine comes out under 0.25 inches, Amazon actually suggests leaving it blank. I have seen authors try to force their title onto a spine that narrow and it never looks good in print. The text ends up tiny, sometimes slightly crooked, and occasionally partially cut off after trimming. If your spine is that narrow, let it be blank. The design on your front and back cover will do the work.
- Using last year’s template for this year’s book: I get it. Running the calculator again feels redundant when your new book is a similar length to your last one. But similar is not the same. Even a 15-page difference changes your spine. Even switching from white to cream paper changes your spine. Run the calculator every time. Every single time. It genuinely takes two minutes and the alternative is reprinting proofs and redoing uploads.
How to Actually Use Your Template Once You Have It
You have your template downloaded. Now you are ready to design. A few things are worth knowing before you dive in.
Whatever design software you use, whether that is Photoshop, Illustrator, InDesign, Affinity Publisher, or Canva, import the KDP template as a locked guide layer at the bottom of your layer stack. Do not design without it visible. The guide lines show you exactly where the spine starts and ends, where the bleed edges are, and where the safe zones sit. Design everything on layers above the template, and when you are ready to export, hide or delete the template layer so it does not appear in your final file.
When you export your final cover file, export it as a PDF at 300 DPI with no image compression or downsampling. This is non-negotiable for print quality. A cover that looks great on your monitor at 96 DPI will look noticeably soft and blurry on the printed book. Amazon checks file quality during the review process and a low-resolution cover will either be flagged or result in a poor-quality print.
One more thing about colors: what you see on your screen is almost never exactly what you get in print. Monitors display colors in RGB and printers use CMYK. Bright, saturated colors especially electric blues, vivid greens, and rich reds tend to print slightly muted compared to how they look on screen. If color accuracy matters for your cover, consider doing a test print before finalizing. Most designers shift their color expectations slightly when working on print projects and you should too.
And please order a physical proof copy before you click Approve for Distribution. I cannot stress this enough. Looking at a cover preview on your laptop screen is not the same as holding the actual book. Small misalignments, color shifts, and readability issues on the spine only become obvious on the physical product. The proof costs a few dollars plus shipping. It can save you from discovering a problem after real customers have already received copies.
Questions I Get Asked About This All the Time
Do I seriously have to use the calculator every time I publish a new book?
Yes. And I know that sounds annoying, especially if you are on your fourth or fifth book and the whole process is starting to feel routine. But here is the honest truth: the calculator is doing real math based on real numbers that are specific to your current book. Your new book is not your old book. Even if it is a similar length, even if it is the same genre, even if you are using the same trim size, if the page count is different your spine width is different. Using the wrong spine width means your cover is wrong. That means a rejected upload, a bad proof, or a physical book that looks slightly off. None of those outcomes are expensive to fix but they are all time-consuming and frustrating. The calculator takes two minutes. Just do it every time and save yourself the headache.
What actually happens if my cover dimensions are wrong when I upload?
A few different things can happen and none of them are great. If your dimensions are significantly off, Amazon rejects the file during the upload review and tells you there is a problem. That is actually the best possible outcome because at least you know right away. If the dimensions are only slightly wrong, the file might pass the initial check but the cover preview inside KDP will look off. You might see the spine text shifted, the back cover elements sitting too close to the fold, or the front cover image slightly mispositioned. The worst situation is when you approve the book without ordering a proof, go live, and then a customer points out that the spine text on their copy is cut off. At that point you are dealing with corrections, re-uploads, another review cycle, and potentially a reprint. Getting the dimensions right before you start designing is genuinely the fastest path through this whole process.
Does the KDP Cover Calculator work for Kindle ebook covers too?
No, and this trips people up a lot. The cover calculator is only for print books, paperback and hardcover. It exists specifically because print books need a wraparound cover with a calculated spine. An ebook does not have a spine. An ebook cover is just a front image.
For your Kindle ebook cover you do not use the calculator at all. Amazon recommends at least 1000 pixels on the shorter side with a height to width ratio of roughly 1.6 to 1. Most Kindle cover designers work at 2560 pixels tall by 1600 pixels wide. You just design to those pixel dimensions and upload the image. No template to download, no spine to calculate.
If you are publishing both a print version and a Kindle version of the same book, you need two separate cover files. They can use the same front cover art but they are completely different setups. One is a full wraparound file calculated through the KDP Cover Calculator. The other is a standalone front cover image sized for Kindle. Do not try to make one file work for both.
Okay. You Know Everything You Need to Know.
Getting a book out into the world is hard enough without losing days to a cover upload error that was entirely avoidable. The KDP Cover Calculator is a simple tool. It is not glamorous. It does not make your cover beautiful. What it does is give you the right numbers so that the beautiful cover you design actually fits the book you spent months writing.
The order matters. Finish your interior. Get your final page count. Open the calculator. Enter your binding type, your paper color, your page count, and your trim size. Download the template. Design on top of it. Export at 300 DPI as a PDF. Order a proof. Hold the physical book. Then approve it for sale.
Do not skip steps and do not rush the sequence. Every author who has uploaded a cover with wrong dimensions wishes they had done it in this order. You now know better than they did at that moment.
Go publish something good.