I will be honest with you. When I first got into self publishing book printing, I thought the hard part was writing the book. It is not. Writing is actually the fun part. The painful part is when you finally hold your printed copy in your hands and realize the margins are all wrong, the spine text is half missing, and the cover color looks nothing like what you saw on your screen. That moment is awful. And what makes it worse is knowing you paid for it.
So I want to save you from that experience by talking about the mistakes that trip up almost every first time author. Not the obvious stuff. The things you only find out after something goes wrong.
Nobody Tells You About Bleed Until It Is Too Late
Bleed was a word I nodded at for months without actually understanding it. I thought it was something only professional designers needed to worry about. Then my first book came back with a thin white strip running along one edge of every page and I had to look it up.
Here is what it means in plain language. When a printer cuts your pages down to size, the blade does not land in the exact same spot every single time. It shifts a little. Sometimes just a millimeter. If your background color or image stops right at the edge of the page, that tiny shift leaves a white border where there should be none.
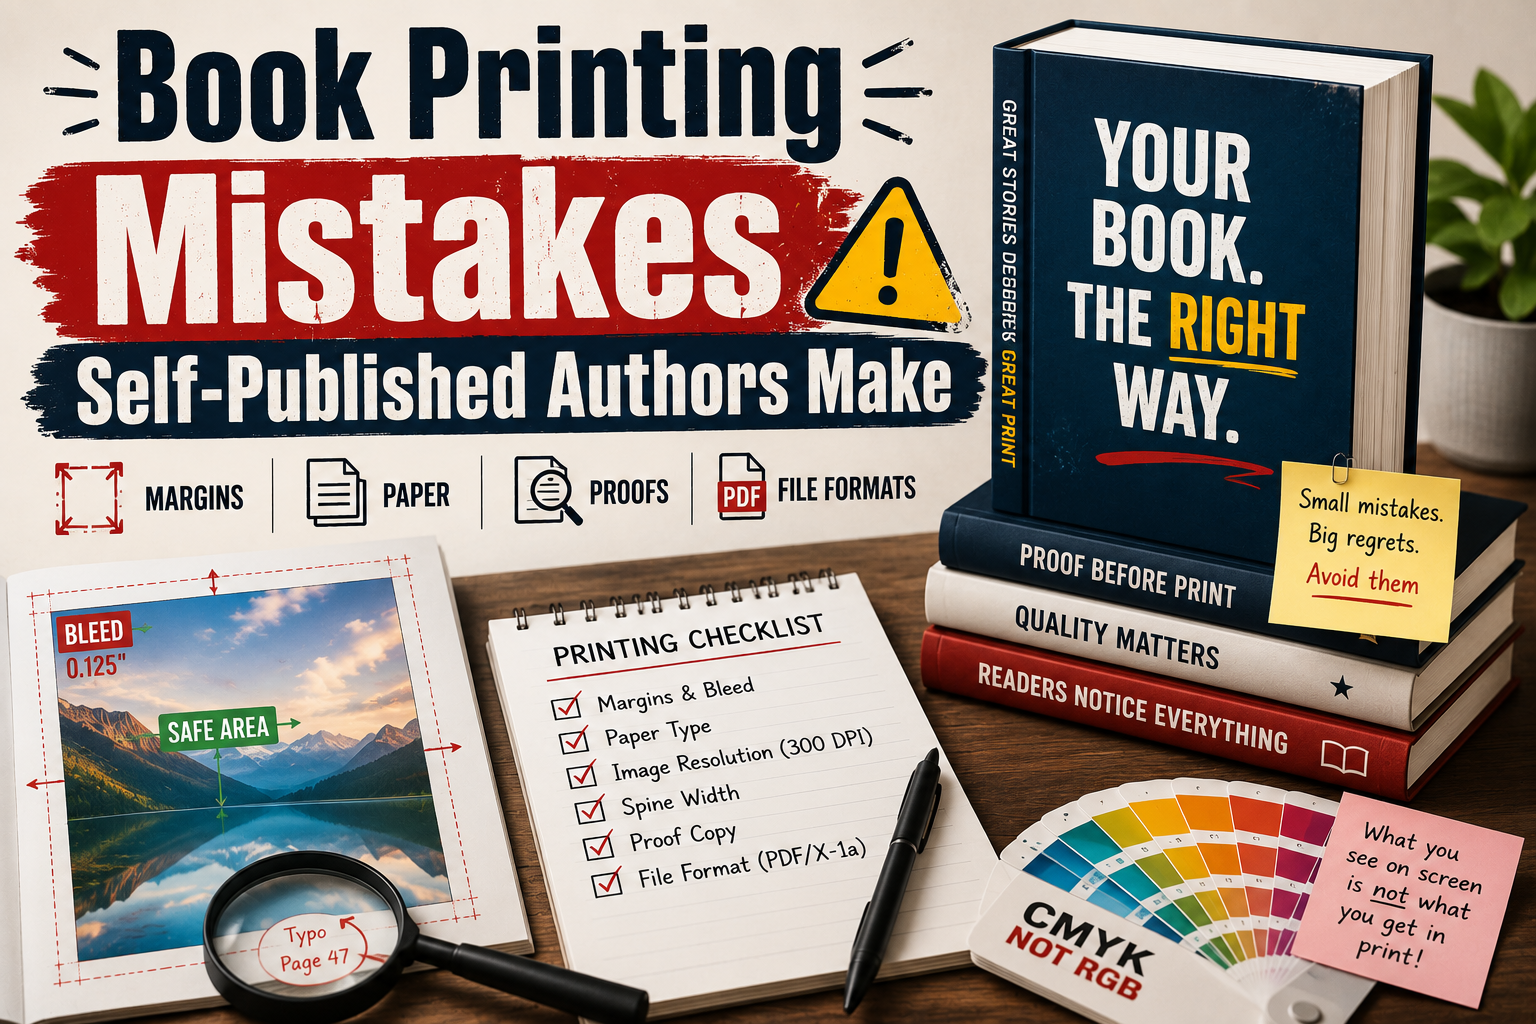
Bleed is basically extra space you add outside your page edges so that even if the cut is slightly off, you never see that white strip. Most printers want 0.125 inches of bleed on all sides. It sounds small but it matters a lot.
The easiest way to handle this is to download the template directly from your printing platform before you design anything. Build everything inside that template from the start. Do not design your whole book and then try to add bleed at the end. It never works out cleanly.
White or Cream Paper and Why It Actually Matters
I picked white paper on my first book because it seemed like the obvious choice. Paper is paper, right? Not really.
Cream paper has been the standard in fiction for a long time and there is a reason for that. It is easier on your eyes during long reading sessions. The slightly warm tone reduces eye strain in a way white paper does not. Most readers cannot tell you why they prefer one over the other but they can feel the difference.
White paper works better for non-fiction, instructional content, and anything with charts or graphics because the higher contrast makes things pop. If your book is mostly text and it is the kind someone might read for a few hours at a stretch, cream is usually the better call.
Paper weight matters too. Heavier paper feels more premium but it also makes your book heavier and thicker which pushes up shipping costs. Lighter paper saves money but if your pages have dense text blocks or images, ink can bleed through to the other side. Neither option is wrong but the default setting is not always the right one for your specific book.
The Photo Problem That Ruins Memoirs and Children’s Books
This one breaks my heart every time I see it happen because it is completely fixable and nobody warns authors about it beforehand.
Photos and images need to be 300 DPI for print. That stands for dots per inch and it is the resolution standard for anything that goes on paper. Photos on websites, screenshots from your phone, images pulled from Google are almost always 72 DPI. That is fine for screens. On paper it looks blurry and soft like a photocopy of a photocopy.
The issue is that everything looks fine on your computer. You drop the photo into your layout, zoom out, and it looks sharp. You upload the file and the preview looks okay. Then the books arrive and every photo looks like it was taken through a frosted window.
Before you submit your final file, right click on every image and check the resolution. If you cannot find a 300 DPI version of a photo you need, you either have to find a replacement or cut it from the layout. There are AI tools now that upscale images and they help, but they are not magic. A bad photo blown up with AI still looks like a bad photo.
Getting the Spine Wrong Is More Common Than You Think
The spine of your book is not a fixed size. It changes based on your page count and the type of paper you are using. This means that if you designed a cover for one book and try to reuse that same file for a different book with a different page count, the spine text will be in the wrong position.
Every printing platform has a spine width calculator. You type in your page count, select your paper type, and it gives you a number. That number is what you build your cover around. It takes about two minutes and it prevents one of the most obvious-looking mistakes a printed book can have.
I have seen books where the title on the spine is so far to one side that half the letters are on the back cover. The author had no idea until the copies were in their hands. Do not be that person. Run the calculator every single time, even if you are printing a new edition of the same book.
Please Just Order the Proof Copy
Out of everything in the self publishing book printing process, skipping the proof is the mistake I see most often and the one I understand the least. It costs around fifteen to twenty dollars. It takes about a week to arrive. And it will show you things you absolutely cannot see on a screen.
When you read your book on a monitor, your brain already knows what the words say. It moves fast, skipping over details and even filling in words your brain expects to see. When you hold a physical copy and read it page by page with a pen in your hand, everything slows down. As you go through a physical copy, small issues start to stand out. Two words might be stuck together on page 47, the chapter headers can feel slightly oversized, or the layout may seem cramped. You might even spot a typo that somehow slipped through multiple editing passes.
Every single author I know who skipped the proof found something wrong after their books were already printed and distributed. Every single one. That fifteen dollars is not optional. It is part of the cost of doing this properly.
Your Cover Color on Screen Is Not Your Cover Color in Print
Screens show color in RGB mode. Printers work in CMYK. These are two different systems and they do not produce the same results when you convert between them.
That bright teal you have on your cover might print as a muted blue-green. A warm orange can come out looking brownish. Vivid colors especially are the ones that shift the most because a lot of them exist in RGB but simply cannot be reproduced in CMYK ink.
The fix is to design your cover in CMYK from the beginning, not RGB. If you are using professional software like InDesign or Affinity Publisher, this is a setting you choose when you create your document. If you design in RGB and convert at the end, some colors will shift and you may not love the result.
Some platforms auto-convert your files for you. They all include a warning that colors may look different from your screen version. That warning is not there for decoration.
Thin Decorative Fonts Do Not Survive the Printing Process
A font that looks sophisticated and elegant on a screen can become genuinely difficult to read on paper, especially at small sizes. Very thin strokes, highly ornate lettering, and fonts with lots of fine detail tend to lose their crispness in print. What looked refined on your monitor ends up looking muddy on the page.
The fonts that have lasted in book publishing, Garamond, Caslon, Palatino, are still being used because they were designed for paper. They hold up. If you want something less traditional, Georgia and Book Antiqua are both solid choices for body text.
Keep your main text somewhere between 10 and 12 point size. Make sure there is enough space between your lines so the page has room to breathe. A dense page with no visual breathing room is tiring to read even when the writing itself is good.
One Thing About File Formats Before You Submit
Most printers want a print-ready PDF. Not a Word document. Not a regular PDF. A specific kind of PDF where your fonts are embedded, your images are at full resolution, your bleed is included, and your color profile is set correctly.
The formats to look for when you export are PDF/X-1a and PDF/X-4. These are industry standards for print files. Your design software probably has an option to export in one of these formats. If you are not sure how to do it, look up the export tutorial for whichever program you are using. It takes about twenty minutes to figure out once and then you know it forever.
Submitting a regular PDF sometimes works fine. Sometimes the printer processes it and something comes out wrong, text that has reflowed, images at the wrong size, fonts that did not embed correctly. Using the right format from the start avoids all of that.
Wrapping It Up
None of these mistakes are hard to avoid once you know what to look for. The self publishing book printing process has a learning curve but it is not a steep one. Most of the problems I have talked about come down to not knowing a rule existed, not being careless.
Take your time with the technical side. Use the templates. Check your image resolution. Order the proof. Those steps are not glamorous but they are what separates a book that looks professionally made from one that immediately reads as a first attempt. You did the hard work of writing the thing. Do not let the printing side be the part that lets it down.