Honestly, I never thought formatting would be the thing that nearly broke me. I had spent close to four months testing recipes, burning through ingredients, and taking photos with a camera I borrowed from my cousin. When I finally uploaded my first cookbook to Kindle Direct Publishing, I was so proud of myself. Then I opened it on my device and my stomach dropped. This is why following a proper Kindle book formatting guide actually matters way more than most people realize. Everything looked wrong. The fonts were a mess, the ingredient tables were squished, and my images were floating in weird places. I had to start the formatting from scratch.
So if you are someone who has cooked up a whole cookbook and now you are staring at the upload page wondering what to do next, this is for you. I am not a tech person. I am a home cook who figured this out the hard way, and I am just sharing what actually worked.
Why Cookbook Formatting Is Different From Regular Ebooks
Here is something nobody really tells you when you start. Formatting a cookbook is nothing like formatting a regular ebook. With a novel you mostly just have paragraphs of text and chapter titles. Easy. But a cookbook has ingredient lists, numbered steps, timing info, photos, and all of it needs to make sense on a tiny Kindle screen while someone is standing in their kitchen with wet hands trying to figure out how much cumin they need.
Different Kindle devices also show things differently. Someone on an old basic Kindle sees everything in grayscale. Another reader on a Fire tablet gets color. What looks clean and beautiful in your Word document can fall apart completely once it hits an actual device. I found this out the painful way three separate times before I finally understood what I was dealing with.
The file formats Kindle uses, mainly EPUB and MOBI, do not always behave the way you expect either. I once spent two days thinking my file was perfect only to load it up and find that my entire spice rub recipe had collapsed into one long unreadable sentence.
Choosing the Right Tools Before You Begin
Before anything else, you need to figure out what you are actually going to use to build the thing. I went through a few options and each one taught me something.
Microsoft Word and Kindle Create
Most people start here and that is completely fine. Word is familiar and Kindle Create, which Amazon gives away for free, can pull in your Word document and help you style it up. For a simple cookbook it works decently. The problem comes when you try anything slightly fancy like side by side columns for ingredients or bordered tables. Those almost never survive the conversion looking the way you intended. I still draft in Word but I stopped expecting it to handle the final formatting on its own.
Scrivener
After my first failed upload I switched to Scrivener and honestly it changed things. You get a lot more control over how your document is structured and it exports directly to EPUB which saves a whole step. If your cookbook has many chapters and dozens of recipes to keep organized, the way Scrivener lets you move things around is genuinely useful. The learning curve is real but it is worth it if you plan to publish more than one book.
Vellum
If you are on a Mac this one is worth every penny. Vellum produces really clean EPUB files and the preview feature shows you exactly how your pages will look across different Kindle devices before you ever hit upload. I have recommended it to every food blogger I know who is thinking about turning their recipes into a book.
Setting Up Your Document Structure
This is the step most first-time cookbook authors completely skip and it always comes back to bite them. Any decent Kindle book formatting guide will tell you to sort out your structure before you write or format a single thing. I did not do this my first time. I just started typing recipes and figured I would organize later. Later was a nightmare.
Here is how I set mine up now.
Front Matter: This is your title page, your copyright notice, a dedication if you want one, and your table of contents. The TOC is not optional on Kindle. Readers use it to jump between chapters and if it does not work properly people get frustrated and leave bad reviews. I learned this from a one star review that said “could not navigate the book.” That stung.
Introduction: Write something personal here. Why did you make this cookbook. What does it mean to you. Readers want to feel like they know the person whose recipes they are about to cook. Keep it warm and real.
Recipe Chapters: Group your recipes in a way that makes sense. By meal, by season, by cuisine, whatever fits your book. Just pick a system and stick to it all the way through.
Back Matter: Your author bio goes here, any extra resources you want to mention, and an index if you are ambitious enough to build one. Clickable indexes on Kindle are possible but complicated. Most people skip it.
Formatting Individual Recipes Correctly
This is where the real work is. Every single recipe in your book needs to follow the same structure. A good Kindle book formatting guide for cookbooks will drill this into you and for good reason. When readers are cooking they are moving fast. They need to find the information without hunting for it.
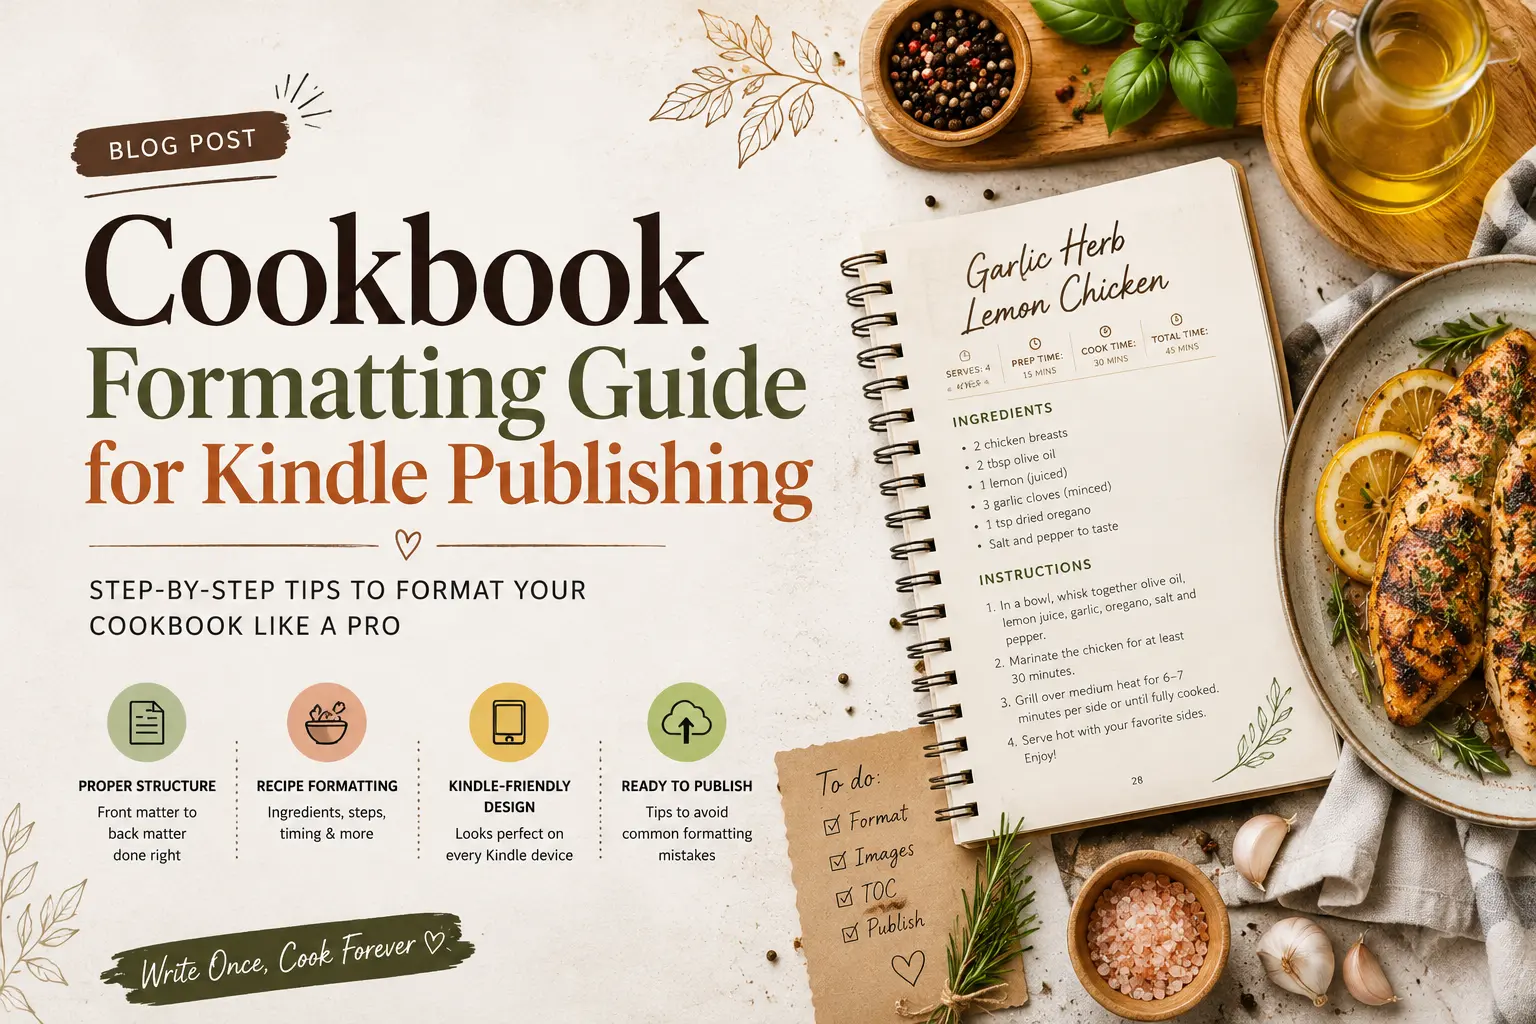
Recipe Title and Introduction
Keep the title clear and descriptive. Right below it write a short paragraph, maybe three to five sentences, about the dish. A memory attached to it, where it comes from, what makes it special. This is the part that turns a recipe into something people actually want to cook. It makes the whole book feel like it was written by a human being rather than printed off a database.
Yield and Timing Information
Put this before the ingredients every time. I write it as simple plain text like this:
Serves: 4
Prep Time: 20 minutes
Cook Time: 40 minutes
Total Time: 1 hour
Do not use a table for this. Tables on Kindle are unpredictable and this information is too important to risk it looking broken.
Ingredient Lists
One column only. I cannot stress this enough. Two column ingredient layouts look great in print and fall apart on Kindle. Use a simple list, write ingredients in the order they get used, and if your recipe has multiple components like a marinade and a main dish then label each group clearly with a small subheading.
Instructions
Number every step. Every single one. People cook with one eye on the screen and numbered steps let them keep their place without rereading everything. Each step should cover one or two actions, not five. Short and clear beats thorough and confusing every time.
Handling Images in Your Kindle Cookbook
Let me be real with you about photos because a lot of guides are weirdly vague on this. Kindle is not a great platform for food photography. Basic Kindle devices show everything in grayscale. Even color devices compress your images. Your gorgeous golden roast chicken photo might look muddy and flat on a reader’s device no matter how good your original shot was.
That said, images still belong in your cookbook. They help readers know what they are aiming for and they make the book feel complete rather than like a printout.
Image Resolution and File Size
Amazon suggests 300 DPI for print and somewhere between 96 and 150 DPI for Kindle ebooks. Resize your photos specifically for Kindle before you drop them into your file. Large images bloat the file size and Amazon sometimes compresses them further on their end anyway which just makes them look worse. JPEG works well for food photos. PNG is better if you have any text graphics or step-by-step instruction images.
Placing Images in the Flow
Main photo goes right after your recipe intro and before the ingredients. That way readers see what they are making before they start gathering things. Any technique photos or plating shots can go within the steps or at the end. And always write alt text for every image. It is good for accessibility and Amazon actually uses it when rendering across different formats.
Common Mistakes I Made So You Do Not Have To
I want to be upfront here. No Kindle book formatting guide is complete without someone admitting what they got wrong. Here are mine.
I used a custom font in my first cookbook because I thought it looked charming and editorial. Kindle ignored it entirely and substituted its own font in a way that made my headers look bizarre. Stick to standard fonts. Georgia and Times New Roman both work fine. The content matters more than the typeface anyway.
I also skipped the Kindle Previewer the first time because I was in a rush to publish. The Previewer is a free tool from Amazon that shows you how your file will actually look on different devices. Please use it. It caught about eight things I never would have noticed otherwise.
Hard page breaks were another thing I overdid. In a printed cookbook every recipe starts on a fresh page so I added a hard break after each one. On Kindle this created huge awkward gaps of blank space between recipes that felt really strange to read. Use hard breaks for chapters but let recipes flow into each other naturally.
And finally, test on a real device. The Previewer is useful but it is not the same as holding an actual Kindle in your hand and scrolling through. Load your file onto the Kindle app on your phone at minimum. You will catch things you missed everywhere else.
Final Steps Before Publishing
When you think the formatting is done, do one full read through looking only at structure, not content. Check that every recipe follows your template. Make sure the table of contents links all work. Confirm your cover image is at least 2560 pixels on the longest side. Check the total file size because anything over 50 MB starts to cause slow download issues for readers even though Amazon technically allows up to 650 MB.
Export to EPUB, run it through the Previewer, load it on your phone, and if everything looks the way it should then you are actually ready.
A Few Last Thoughts
When I published my second cookbook the formatting took me a fraction of the time it took for my first because I finally had a system. That is really what all of this is about. Building a process you can repeat.
Following a real Kindle book formatting guide from the start instead of guessing as you go saves you from the exhausting cycle of uploading, finding something broken, fixing it, uploading again, finding something else broken. Your readers are trusting you to give them something that works on their device. With a little patience and the right approach, you absolutely can.
Take your time with it. The recipes are the heart of the book. The formatting is what lets people actually use them.